This guide mainly deals with how to edit video on macOS Sierra with three excellent video editing tools.
1. Edit Video with Filmora on macOS Sierra
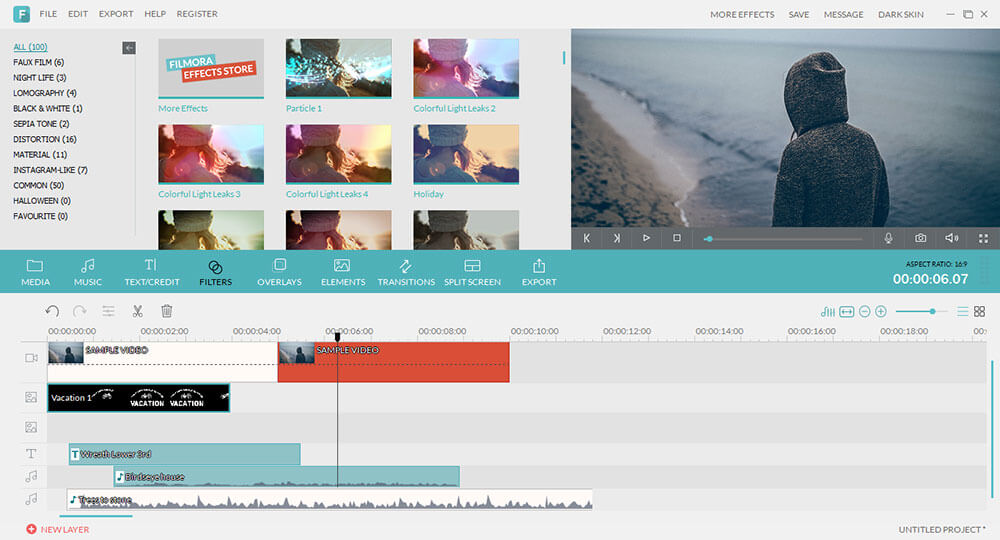
After searching around the sites, you'll find Filmora that appears the most is a superb tool worth trying. Coming with a user-friendly interface and basic video editing features like merge, cut, crop, rotate, speed, etc, it is great for beginners. This video software devotes itself to make your video work outstanding with fantastic creative features and advanced tools. Better still, it supports sharing your awesome video creation with the world via YouTube, Facebook, etc, or saving to your computer in many popular formats, or burning to DVD.

How to Edit video with Filmora
Step 1 Add video that you want to edit with Filmora by simply dragging and dropping method.
Step 2 The editing function of Filemora can be divided into four parts: basic editing, advanced editing, add effects and action cam editing.
Step 3 Once done, click "Export" button to share the video to YouTube, Facebook, etc, save video to popular device, or burn video to DVD.
2. Edit Video with Faasoft Video Converter on macOS Sierra
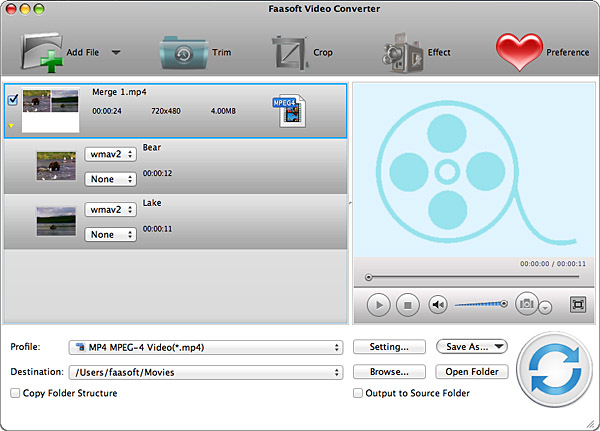
This video software tool is pretty easy to use and great for newbie. The main function of this program is made especially clear by the convenient and intuitive interface. All of the process of editing video with this editing software may only take a few clicks. As the name implies, one exciting thing to know about this program is it works quite well in converting video and audio files. Hence, after creating your video story, you can save it to more popular formats in order to better share your work with others.

How to Edit Video with Faasoft Video Converter
Step 1 Import video to Faasoft Video Converter by clicking "Add File" button and a new window pops up. In the new window, search your computer, choose the file that you want to edit and click "Open".
Step 2 Click "Effect" button on the toolbar to open the "Video Editing" window. In the pop-up window, just do all the editing work as your need.
Step 3 By default, the output format is "MP4 MPEG-4 Video (*.mp4)". If it is not what you want, just click the drop-down button of "Profile" to choose the output format. At last, hit the big "Convert" button.
3. Edit Video with QuickTime
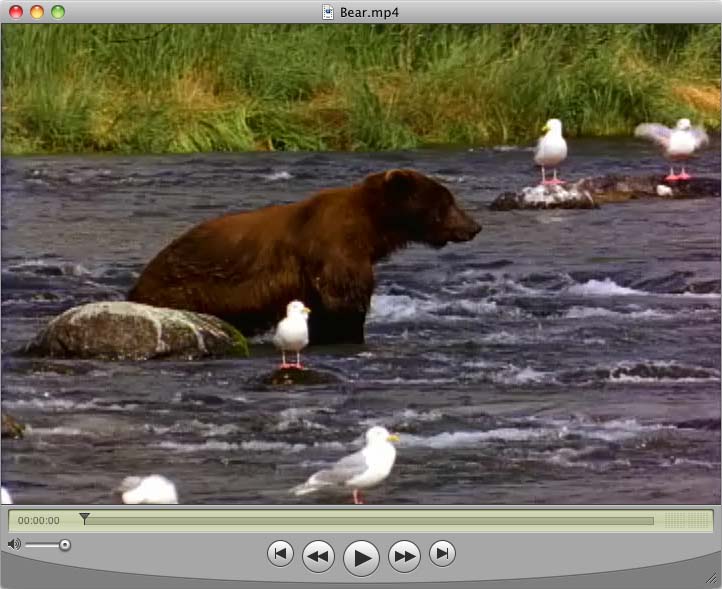
When we need to play video files on macOS Sierra, we prefer to use QuickTime Player with Mac OS X itself. But QuickTime performs more than a video player and it allows users to do some basic video editing work, for example, remove useless parts of your movie, split a big movie into multiple sections, cut/copy/paste/delete clips, and flip/rotate video. Once done, you can share your movie creative by Mail, Messages, AirDrop, YouTube and more.

How to Edit Movie with QuickTime?
Step 1 Drag the movie to QuickTime Player to load video.
Step 2 Move your mouse to the progress bar, it will show two markers. Drag these markers to select the portion you are interested in, then you can use Cut/Copy/Paste/Delete from Edit menu to eidt this video. From Window menu, you can choose Show Movie Properties to view media streams in your file, there you can Extract or Delete specified stream. You can even add Flip/Rotate command to video.
Step 3 Click Save or Export from File menu and then share your video story with the world.
Note: The free version of QuickTime Player 7 has no editiong function. You should buy a QuickTime Pro Registartion code to register it and unlock all editing functions.


